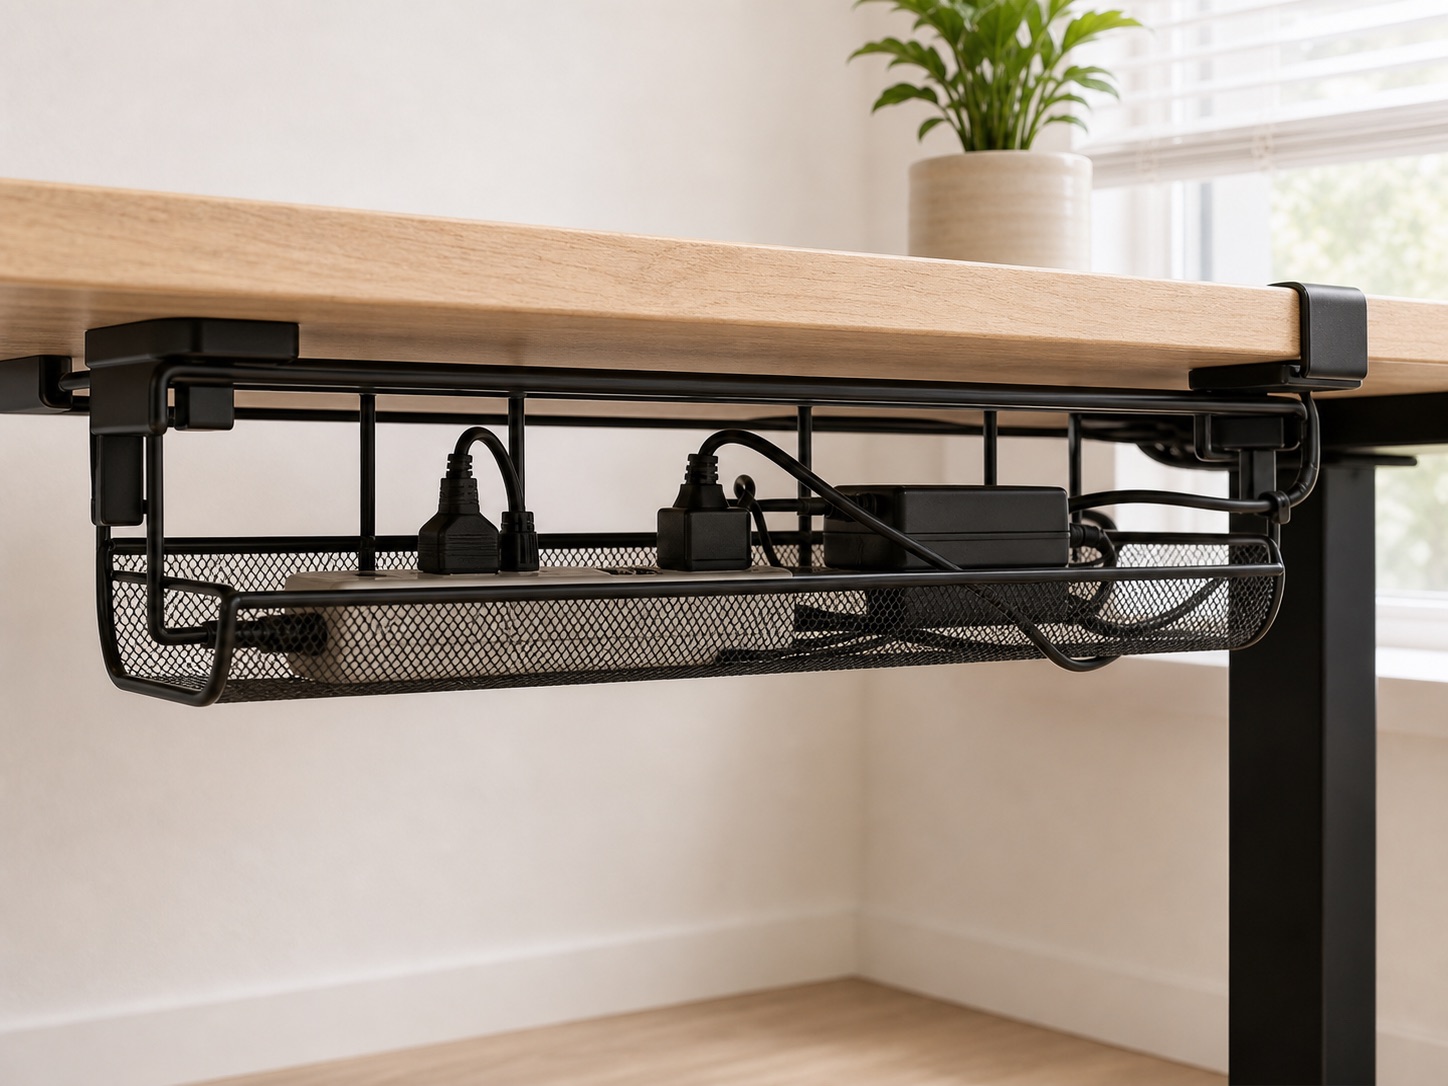
The short answer
For most renters, the cleanest sequence is: place the power strip in a tray, park daily-use cables at the edge, contain the single visible run to the outlet, and keep a small service loop anywhere the desk or monitor moves. A clamp-on tray is the least surface-dependent option when the desk has a usable edge. Adhesive is the fallback when that edge is blocked, but only after checking the underside finish and accepting the removal risk.
Best starting point
Choose by attachment geometry first. A beautiful tray that cannot clear the desk apron is not a solution. Measure the edge, underside obstruction, knee space, and route to the outlet before comparing colors or capacity.
Measure four things before buying
- Desktop thickness: measure the full thickness where the clamp would sit, including any beveled edge.
- Clamp depth: check how far the clamp must reach under the desk before it finds a flat surface.
- Underside clearance: note aprons, crossbars, drawers, controls, and standing-desk hardware.
- Knee and wall clearance: locate the tray where it will not hit your legs or prevent the desk from moving close to the wall.
Write the numbers down and compare them with the current product listing. Listing dimensions can change, so we deliberately do not reproduce them as permanent facts here. If your edge is irregular, start with our clamp measurement guide.
Four useful installation styles to compare
Most desks need one primary tray, not every item below. We checked that each linked US listing matched its stated installation role on July 30, 2026; confirm the current dimensions, included hardware, and return terms on Amazon before ordering.
These are four separate Amazon listings, not four versions of the same item. Choose one primary mounting method, then add a sleeve only if a visible cable run still needs containment.
Clamp-on tray
Litwaro Cable Management Tray
The common starting point for a flat, exposed desk edge.
A metal under-desk tray that attaches at the desk edge, so the power strip and excess cable can move off the floor without adhesive on the desktop.
Confirm on Amazon: Clamp opening, usable edge depth, tray clearance, and included hardware.
Adhesive tray
Scandinavian Hub Under Desk Cable Management Tray
Use this route when a frame or apron makes an edge clamp impossible.
A no-drill route for desks whose edge is blocked by a frame or apron. Treat the adhesive as surface-dependent rather than universally removable.
Confirm on Amazon: Surface instructions, stated load, cure time, mounting footprint, and removal guidance.
Light-color clamp tray
Cinati Under Desk Cable Management Tray
A visual alternative only after the desk passes the same clamp-fit checks.
A clamp-on tray option for a light-colored setup. The buying decision should still be based on edge fit and knee clearance, not color alone.
Confirm on Amazon: Clamp opening, edge shape, knee clearance, wall clearance, and current color options.
Visible-run sleeve
JOTO Zipper Cable Management Sleeve
This complements a tray; it does not replace one.
A sleeve for containing the visible bundle between the desk and outlet. It complements a tray but does not support a power strip.
Confirm on Amazon: Sleeve diameter, usable length, closure style, and the number of cables it can contain.
Affiliate note: These are paid links. As an Amazon Associate, we earn from qualifying purchases. We do not show copied prices or ratings because they can change.
Install in the right order
- Unplug and untangle. Photograph the existing connections, then disconnect only what you can identify.
- Place the power strip. Keep its switch reachable and its ventilation unobstructed. Do not daisy-chain power strips.
- Route from fixed to moving. Start at the outlet and leave controlled slack at the desk, monitor, and laptop dock.
- Separate parking from carrying. Small clips park charging leads; a tray carries adapters and the strip; a sleeve contains the visible drop.
- Test every movement. Raise a standing desk, rotate a monitor arm, pull the chair in, and make sure nothing becomes taut.
Do not cinch signal or power cables so tightly that connectors bear the strain. Reopenable hook-and-loop ties make later changes much easier than permanent zip ties.
Clamp, adhesive, clips, or sleeve?
| Method | Choose it when | Watch for |
|---|---|---|
| Clamp-on tray | Flat edge, clear underside, heavier adapters | Clamp visibility, edge marks, wall clearance |
| Adhesive tray/channel | Blocked edge, smooth sealed underside | Finish damage, heat, dust, load limits |
| Cable clips | Daily charging leads need a parking spot | Cable diameter and adhesive footprint |
| Zipper sleeve | One visible bundle runs to the outlet | No support for power strips or bricks |
A hybrid usually works better than asking one accessory to do everything: tray for weight, clips for reach, sleeve for the final visible run.
A renter-friendly removal plan
Keep packaging and mounting instructions until the system has survived a week of normal use. For adhesive parts, follow the manufacturer’s removal directions, work slowly, and stop if the desk finish begins to lift. Heat or solvents can damage laminate and veneer, so do not improvise a removal method on an unknown surface.
Photograph the underside before installation and after removal. If the desk belongs to a landlord or dorm, a clamp with protective pads is often easier to inspect and reverse than a high-bond adhesive mount—but only if the edge is structurally suitable.
Common questions
Can a tray hold a power brick?
Possibly, but capacity is product-specific. Compare the current load guidance with the combined weight of the strip, bricks, and cable. Leave ventilation around warm adapters.
Will a clamp damage the desk?
Padded clamps reduce direct contact, but soft wood, veneer, hollow-core tops, and thin glass need extra caution. Follow the desk maker’s mounting guidance.
Should cables be completely hidden?
No. Reachability, ventilation, and safe movement matter more than invisibility. A tidy system should still be easy to inspect and change.