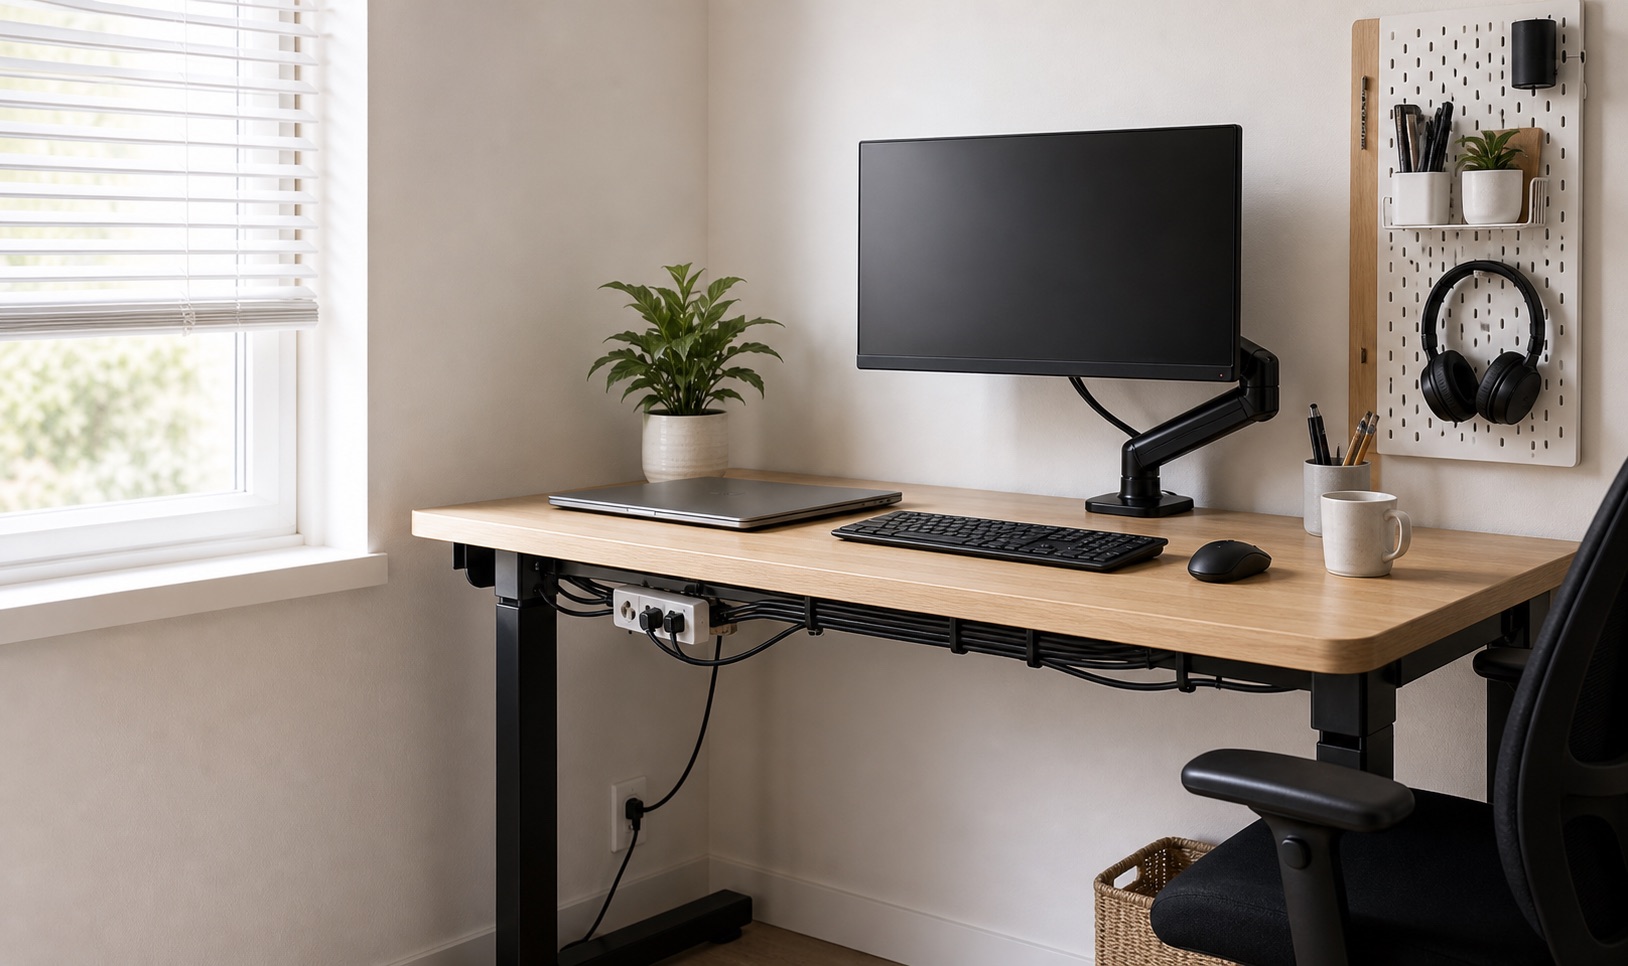
Define the clear work rectangle
Before placing accessories, reserve the area your hands and current task need. For computer work, that means enough depth for the keyboard and pointing device without crowding your forearms. For mixed work, reserve a notebook or document zone as well.
Mark the rectangle with removable tape, then keep storage, speakers, chargers, and décor outside it. The exact dimensions depend on your body and tools; the principle is to protect one usable surface instead of scattering small gaps.
Choose one anchor
The monitor is usually the anchor because it determines sightline and depth. Place it first, then center the keyboard to the screen rather than to the furniture. If you primarily use a laptop, decide whether it is the main screen or a secondary screen before adding a stand.
A riser, monitor arm, or laptop stand should solve a specific height or depth problem. Each one also creates cable and mounting constraints.
Arrange by reach frequency
- Primary reach: keyboard, pointing device, active notebook, daily charging lead.
- Secondary reach: headphones, pen cup, dock controls, frequently used drive.
- Storage reach: spare cables, reference books, camera gear, archived notes.
Items in the wrong reach zone create repeated clutter. Move weekly items vertically or away from the desk.
Recover depth before width
On a shallow desk, screen stands and cable loops consume the same front-to-back dimension your arms need. Route cables behind the screen, move the power strip below the surface, and consider a compatible arm only after checking rear clearance. A keyboard that can park under a shallow riser can also restore a writing zone after computer work.
Give charging a boundary
Choose one charging side and park the cable ends there. Avoid running a phone cable diagonally across the work rectangle. A small tray or vertical pocket can hold the device while it charges, but keep heat-producing devices ventilated.
Three useful layout recipes
Laptop-first
Laptop centered on a stable stand, external keyboard below, pointing device beside it, dock and adapters off the surface.
Single-monitor focus
Monitor centered, laptop closed or placed vertically only if the device maker supports the operating setup, one clear note zone, and daily charger parked at the side.
Mixed work
Monitor shifted slightly to preserve a paper zone, keyboard easy to move or park, task light placed opposite the writing hand.
Finish with a reset test
Work normally for one day, then try to reset the desk in 60 seconds. Anything without a home will remain on the surface. Add storage only for those specific leftovers, using the vertical storage hierarchy before increasing the desk footprint.