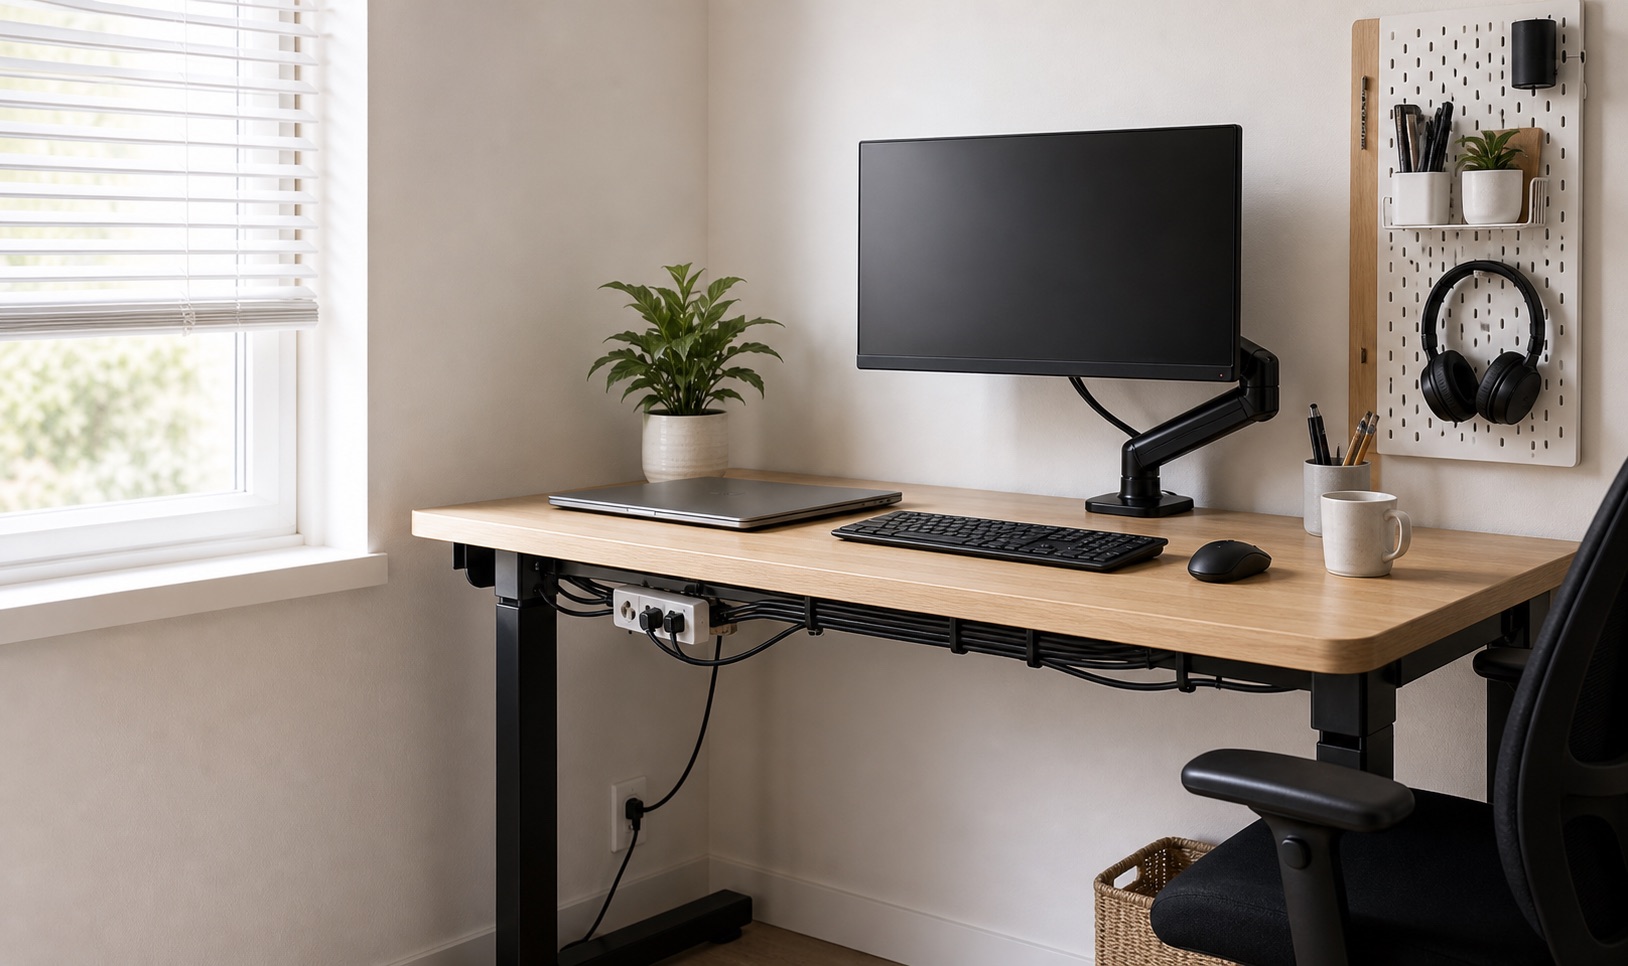
Use this upgrade order
- Remove unused items and protect a clear work area.
- Move power and cable weight off the floor safely.
- Correct the screen and input position.
- Add task light without consuming the last corner.
- Move low-frequency storage vertically.
- Add décor only after the daily reset works.
This order solves function before appearance and prevents buying organizers for items you do not need.
1. Reversible cable control
If the desk has a suitable edge, a padded clamp tray can be easier to remove and inspect than adhesive. If the edge is blocked, lightweight clips or a sleeve may create enough improvement without mounting a loaded tray. Use the no-drill system guide to match the installation to the desk.
2. Screen and input position
Start with free adjustments: move the desk, change chair height, reposition the monitor stand, and center the keyboard to the working screen. A riser or arm comes after compatibility. For an arm, record the monitor model, weight, VESA pattern, desk material, and clamp geometry.
3. Light that does not occupy the surface
A clamp lamp, compatible monitor light, or small wall-directed lamp can improve a dark corner without a large base. The reversible choice depends on the desk edge and screen. Test glare from the seated position before committing to cable routes or adhesive controls.
4. Vertical and movable storage
Prefer freestanding shelves, mobile carts, and desk-clamped panels when wall anchors are not allowed. Their footprint and stability still matter: heavy objects stay low, and nothing enters a standing desk’s travel path. Ask the landlord before using wall anchors or high-bond adhesives.
Treat every surface as unknown
Paint, veneer, laminate, powder coat, and unfinished wood respond differently to adhesive, pressure, heat, and cleaning products. Follow the accessory and furniture makers’ instructions. Test only where an inconspicuous test is allowed, and stop if the finish changes.
“No drill” is not the same as “damage-free”
Clamps can mark soft material; adhesive can lift a finish; freestanding storage can tip. Reversibility comes from compatibility and careful removal, not the marketing label.
Spend on constraints, not sets
One correctly fitted mount or light is usually more useful than a matching accessory bundle. Measure first, buy one change, use it for a week, and only then decide what still causes friction. This also makes returns and troubleshooting simpler.
Build for the next move
Keep original hardware, instructions, and a photo of each installation. Use reusable ties, avoid cutting cables to exact furniture dimensions, and label small parts. A renter-friendly setup should pack into a few known pieces and work on more than one desk.