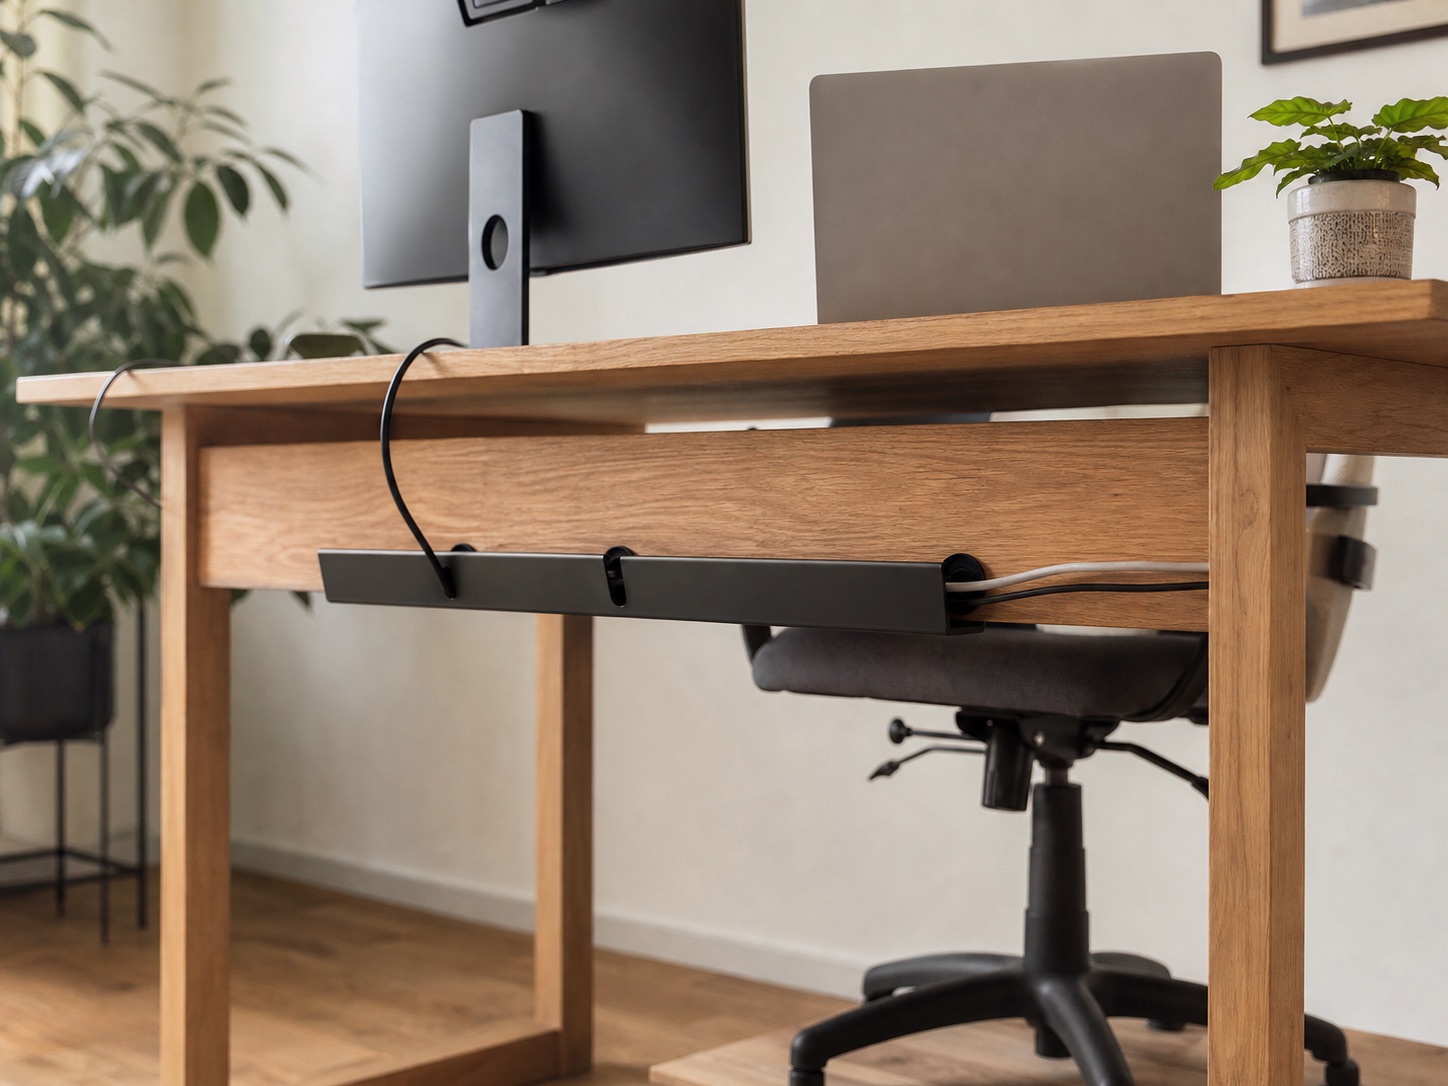
The short answer
If a back apron or crossbar blocks the clamp, do not buy a thinner clamp and hope. First find a smooth mounting area that the accessory maker approves. Use an adhesive tray only when that surface, orientation, cure time, and expected load all fit the instructions. Otherwise, support the power strip somewhere structurally suitable and use lightweight clips plus a sleeve to guide the remaining cables.
The useful distinction
The apron is not the cable problem; it is an attachment constraint. Separate the heavy load—power strip and adapters—from the lightweight routing job.
Identify what blocks the rear edge
Look below the desktop before measuring accessories. A back apron is a deep panel near the rear edge. A crossbar may sit farther inward. Drawers, lift-desk controls, and a full modesty panel create different usable zones.
- Photograph the underside from the front and both sides.
- Measure the flat underside area before the obstruction.
- Note whether the obstruction moves, carries structure, or contains wiring.
- Mark knee space, heat sources, and the power-strip switch location.
Do not attach to a structural member or moving part unless the desk maker explicitly permits it. Our desk measurement guide helps map the same underside constraints.
Choose a method by load and surface
| Method | What it should do | Main dependency |
|---|---|---|
| Adhesive tray | Support a strip and cable slack when approved for that load | Surface, orientation, preparation, cure time |
| Adhesive clips | Guide individual lightweight leads | Cable diameter and clean mounting area |
| Cable sleeve | Contain the visible desk-to-outlet bundle | Bundle diameter and route flexibility |
| Side-edge clamp | Use an exposed side when the rear is blocked | Leg clearance, edge shape, and cable reach |
A tray, clip, and sleeve are not competing versions of one product. Each handles a different part of the route. Read the fuller clamp-versus-adhesive comparison before committing a loaded mount to the desk finish.
Three current products to compare
We verified that each linked US listing matched the product and installation role described here on July 31, 2026. We did not copy prices, ratings, or availability. Confirm the current listing, dimensions, instructions, and return terms before ordering.
Adhesive tray
Scandinavian Hub Under Desk Cable Management Tray
For a smooth underside when the rear edge is fully blocked.
A no-screw tray route that avoids the rear desk edge entirely. Treat the bond as surface- and installation-dependent.
Confirm on Amazon: Approved surfaces, mounting orientation, cure time, stated load, and removal instructions.
Lightweight cable parking
OHill Cable Clips
For individual leads when the desk cannot support a loaded tray.
Small adhesive clips can guide lightweight device cables around an apron without asking one mount to carry a power strip.
Confirm on Amazon: Cable-slot sizes, mounting surface guidance, included quantities, and removal instructions.
Visible-run sleeve
JOTO Zipper Cable Management Sleeve
For the single bundle that still has to drop from desk to outlet.
A reopenable sleeve contains a visible bundle after the power strip and adapters have a safe support location.
Confirm on Amazon: Usable length, sleeve diameter, closure, and fit for the cables in your route.
Affiliate note: These are paid links. As an Amazon Associate, we earn from qualifying purchases.
Install without fighting the furniture
- Map the route. Decide where the fixed room cable becomes the desk cable.
- Support the heavy parts first. Keep the strip switch reachable and warm adapters ventilated.
- Prepare only as directed. Follow the product and furniture makers’ surface-cleaning guidance.
- Respect cure time. Do not load an adhesive mount early because it feels firm.
- Add lightweight routing. Guide device cables around the apron without sharp bends or tight strain.
- Test real use. Open drawers, move the chair, and run a standing desk through its full travel if applicable.
Keep reusable slack near moving devices, then follow the full outlet-to-device routing sequence.
Common questions
Can I stick a tray to the vertical face of the apron?
Only if the tray maker allows that orientation and the apron surface meets its instructions. A product designed for a horizontal underside may not be rated for a vertical pull.
Should I drill through the apron?
Only with permission from the furniture owner and guidance from the desk maker. An apron may be structural, and drilling can void a warranty or damage a rented desk.
Can the power strip stay on the floor?
It can remain in a safe, dry, ventilated, accessible location, but loose adapters and cable slack should be protected from chair casters and foot traffic. Never daisy-chain power strips.