Cable Management 101: Hiding Wires in a Minimalist Setup
Cable management has a reputation for being cosmetic, but good routing also improves safety, cleanability, and upgrade flexibility. A desk with unmanaged wires collects dust faster, makes troubleshooting harder, and increases accidental disconnections. The objective is not to make cables disappear forever. It is to make every cable intentional, accessible, and visually calm.
Step 1: Inventory Before You Route
List every powered and data-connected device on your desk. Group by category: permanent power, permanent data, temporary charging, and occasional accessories. This one-page map prevents the common mistake of redoing cable runs after a new device arrives. Also measure actual lengths. Overly long cables create loops and pressure points; overly short cables create tension and premature wear.
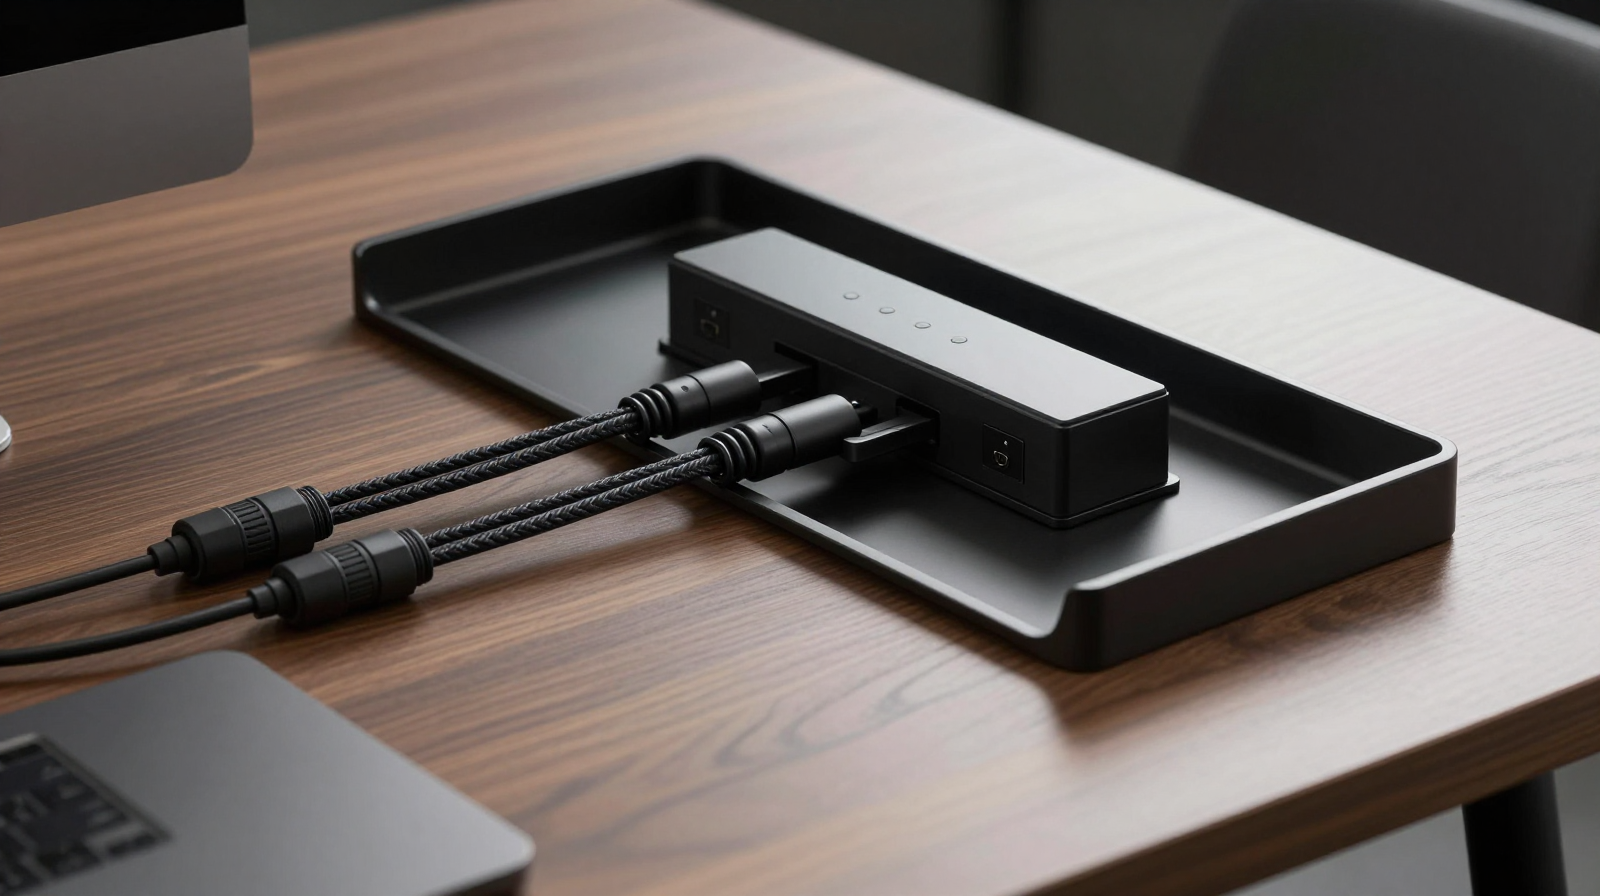
Step 2: Create a Routing Backbone
Install an under-desk cable tray to act as your main backbone. From there, run vertical drops to each device area using clips or channels. Keep high-voltage power separated from sensitive signal cables where practical. Label both ends of key connections so future maintenance takes minutes rather than guesswork.
Service loops matter
Leave a small slack loop near movable items like monitor arms and docking cables. Zero slack looks neat on day one but causes strain whenever you adjust position.
Step 3: Mount Power Bricks and Consolidate Adapters
Power bricks are often the ugliest part of any setup. Mount them under the desk with brackets or industrial hook-and-loop straps. Use one high-quality surge-protected strip in the tray instead of multiple floor-level strips. A single central power path simplifies shutoff, cleaning, and emergency access.
Step 4: Organize by Access Frequency
- Always-on cables: hide deeply, route tightly, and secure firmly.
- Weekly-access cables: route cleanly but keep reachable.
- Daily-access cables: present neatly at desk edge with magnetic anchors.
This hierarchy keeps the setup both tidy and practical. Minimalism is not useful if basic charging becomes inconvenient.
Common Mistakes to Avoid
- Over-tightening zip ties around data cables.
- Mixing random cable colors and materials without a plan.
- Ignoring heat around power adapters and hubs.
- Routing all cables in one dense bundle that is hard to service.
Use reusable ties where possible. Your desk will evolve, and rigid one-time solutions usually create future frustration.
Pros & Cons: Full Cable Management Overhaul
Pros
- Cleaner visuals that make the workspace feel premium and focused.
- Easier cleaning and safer power management.
- Faster troubleshooting due to labels and grouped routes.
Cons
- Initial setup can take several hours.
- Requires buying trays, sleeves, anchors, and labels.
- Needs occasional maintenance after device changes.
Cable Kit Essentials
Compare trays, sleeves, clips, and reusable ties.
Check Price on AmazonFinal Advice
Treat cable management as infrastructure. Build a routing backbone, preserve serviceability, and maintain clear labeling. Once complete, your setup will look better, perform better, and remain easier to upgrade over time.
Room-Level Cable Planning for Multi-Device Setups
If your workspace includes desk gear, TV audio equipment, and smart-home hubs, plan cable routes at room level instead of desk level only. Define one main power spine along the wall or under furniture and branch from that line to each zone. This prevents crossover tangles and makes future upgrades predictable. For each zone, document available outlets, expected load, and cable length requirements. A 15-minute planning sketch can save hours of rerouting.
Safety and Reliability Checklist
- Do not overload single outlets with high-draw equipment.
- Keep adapters off carpet when possible to reduce dust and heat buildup.
- Avoid sharply bent cables near connectors.
- Replace damaged insulation immediately instead of taping temporary fixes.
These steps are easy to ignore in aesthetic-focused setups, but they are essential for long-term reliability and safety.
Maintenance Routine for a “Always-Clean” Desk
Great cable management is maintained, not finished. Schedule a quick monthly check: tighten loose anchors, verify labels, remove unused cables, and inspect strain points on monitor-arm runs. Keep a small kit nearby with reusable ties, labels, and spare clips so fixes happen immediately. This habit preserves the minimalist look without major rework and keeps your workspace ready for new devices.
Upgrade-Friendly Labeling Standard
Create a simple naming system such as PWR-01, DATA-01, AUDIO-01 and place small labels near both cable ends. When replacing a monitor, dock, or router, this system avoids accidental unplugging and shortens recovery time. Keep a tiny note in your desk drawer listing what each code connects to. This is especially valuable for creators and developers who routinely swap gear.
Minimalist setups stay clean when systems are documented. With labels, service loops, and grouped pathways, future changes become maintenance tasks rather than full rewires.
One final pro tip: photograph your under-desk layout after each major change. Visual records make future troubleshooting faster and help you maintain consistent routing standards over time.